What You’ll Learn
- ✓ What a named range is and why it makes formulas dramatically more readable
- ✓ How to create a named range using three different methods including the Name Box, Define Name, and Name Manager
- ✓ How to edit, update, and delete named ranges without breaking your formulas
- ✓ The naming rules Excel enforces and what happens when you break them
- ✓ How to fix the #NAME? error and other common named range mistakes
Named ranges in Excel are the kind of feature that sounds optional until you are staring at someone else’s spreadsheet at 9 AM, trying to figure out what =SUM($B$4:$B$19)*$D$2 is supposed to mean, with a deadline in an hour. Sound familiar? You’ve probably been there. Most Excel users have.
Here’s the thing: once you understand named ranges, you will never go back to writing formulas with raw cell references if you can help it. Your formulas stop looking like a jumble of dollar signs and numbers and start reading like plain English. That changes everything, especially when someone else needs to understand your work.
This guide will take you from zero to confident. You will learn what named ranges actually are, how to create them in three different ways, how to manage them without breaking anything, and how to use them in formulas that make sense the moment you read them. Let’s go.
What Are Named Ranges in Excel?
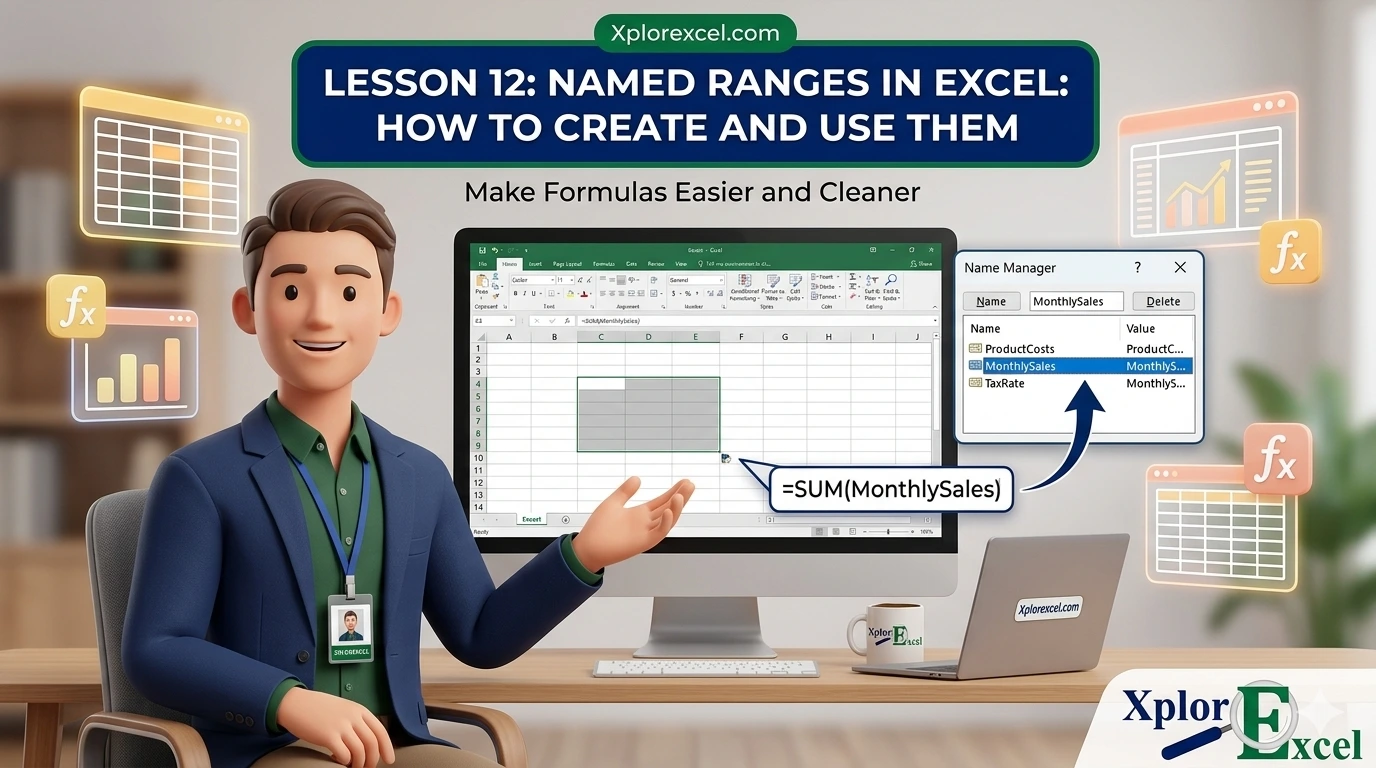
A named range is simply a cell or group of cells that you have given a label. Instead of a cell address like B2:B13, you give it a meaningful word like MonthlySales. That name then works anywhere a cell reference would normally go inside your formulas.
Think of it like saving a contact in your phone. You do not memorise your best friend’s number. You just type their name and your phone does the rest. Named ranges work the same way. You give a label to a chunk of data, and Excel handles the underlying mechanics. You get to work with a name that actually means something.
A Simple Analogy to Make It Click
Say you run a small bakery. You track weekly revenue in cells B2 through B53, one row per week across the year. Every time you want your total, you type =SUM(B2:B53). Every time someone else opens the file, they see B2:B53 and have absolutely no idea what it refers to.
Now name that range WeeklyRevenue. Your formula becomes =SUM(WeeklyRevenue). Anyone who opens the file knows exactly what that calculation is doing. No guesswork. No asking you to explain it. That is the whole point of named ranges in Excel.
Named Range vs. Cell Reference: Side-by-Side
Formula Comparison
// Without named ranges:
=SUM($B$2:$B$13)-SUM($C$2:$C$13)
// With named ranges in Excel:
= SUM(MonthlyIncome) – SUM(MonthlyExpenses)
Same result. Same calculation. But one of them you can read and explain to someone in about five seconds. The other requires a map.
How to Create a Named Range in Excel (3 Methods)
There are three ways to create a named range in Excel. They all get you to the same place. The method you pick depends on how fast you want to work and how much control you need.
Method 1: Using the Name Box (Fastest)
The Name Box is the small field in the top-left corner of Excel, just to the left of the formula bar. By default it shows you the address of the cell you’re currently in, like B2 or A1. Most people ignore it completely. Big mistake, because it is the fastest way to create a named range.
Step-by-Step: Name Box Method
- Select the cell or range of cells you want to name.
- Click directly on the Name Box. The current address highlights in blue.
- Type your chosen name. Use letters, numbers, and underscores only. No spaces.
- Press Enter. Done.
💡 Pro Tip
You must press Enter after typing your name in the Name Box. If you just click away, Excel will not save the name. This trips up a lot of beginners and feels baffling the first time it happens.
Method 2: Using Define Name (More Control)
The Define Name option lives on the Formulas tab and gives you access to settings the Name Box doesn’t — particularly the scope setting, which controls whether your Excel range name works across the whole workbook or only on one specific sheet.
Step-by-Step: Excel Define Name Method
- Select the cell or range you want to name.
- Click the Formulas tab on the ribbon.
- Click Define Name in the Defined Names group.
- Type your name in the Name field.
- Set the Scope. For most beginners, Workbook is the right choice.
- Optionally, add a note in the Comment field to describe what the range holds.
- Confirm the Refers to field shows the correct range, then click OK.
Method 3: Using Excel Name Manager (Best for Bulk Work)
The Excel Name Manager is your central dashboard for every named range in the workbook. You can create, edit, and delete names all from one window, and see everything at once.
Step-by-Step: Name Manager Method
- Click the Formulas tab.
- Click Name Manager, or press
Ctrl + F3. - Click New.
- Fill in the Name, Scope, Comment, and Refers to fields.
- Click OK, then Close.
Excel Name Manager: Your Control Centre for All Named Ranges
Once you have created a few named ranges in Excel, the Excel Name Manager becomes your most important tool for keeping everything organised. Open it once and it will immediately make sense.
How to Open Name Manager
Go to Formulas and click Name Manager, or press Ctrl + F3 from anywhere in your workbook. You will see a list of every named range in the file, with the name, its current value, the cell reference it points to, scope, and any comments you added.
Editing an Existing Named Range
Data changes. Maybe your sales data now runs from B2:B13 to B2:B25 because you added more months. Here is how to update the range without touching a single formula.
Steps: Edit a Named Range
- Press
Ctrl + F3to open the Name Manager. - Click the name you want to update.
- At the bottom, click in the Refers to field and update the range reference.
- Click the small checkmark button to confirm.
- Click Close.
⚠️ Common Mistake
Many users try to edit the range in the Name field at the top of the dialog — that field is for the label only. The range reference always lives in the Refers to field at the bottom. Always go to the bottom.
Deleting a Named Range You No Longer Need
- Press
Ctrl + F3. - Click the name you want to remove.
- Click Delete and confirm when prompted.
- Click Close.
⚠️ Common Mistake
Deleting a named range without checking what uses it first. Any formula still referencing that name will immediately show a #NAME? error. Use Ctrl + F to search the workbook for the name before you delete it.
Excel Naming Rules You Must Know
Excel is not completely flexible when it comes to naming. There are rules, and if you ignore them, you will get an error or a name that silently conflicts with something else.
What Characters Are and Are Not Allowed
💡 Pro Tip
When you want a two-word name, underscore is the move. MonthlyIncome, Weekly_Revenue, and Tax_Rate are all valid. “Monthly Income” with a space will not be accepted.
Workbook Scope vs. Sheet Scope: Why It Matters
Workbook scope means the Excel range name works anywhere in the file, on any sheet. This is the default and what most users want.
Sheet scope means the name only works on the specific sheet where it was defined. If you try using it on another sheet, Excel will not recognise it.
Here’s the thing: scope matters most when you have the same name on multiple sheets. If two sheets both have a workbook-level range called Expenses, Excel gets confused about which one to use. For beginners, the cleanest approach is to keep everything at workbook scope and make your names descriptive enough that there is no ambiguity. North_Expenses and South_Expenses are better than two identically named ranges fighting each other.
Using a Named Range Formula in Excel
This is where things go from “tidy habit” to genuinely useful. When you use a named range inside a formula, the formula becomes self-explanatory — you can hand it to someone else and they will understand what it does without asking you.
Replacing Cell References in SUM, AVERAGE, and IF
Before & After Named Ranges
// BEFORE — hard to read
=SUM(B2:B13)
=AVERAGE(C2:C13)
=IF(D2>E2,”Over Budget”,”On Track”)
// AFTER — self-documenting
=SUM(MonthlyRevenue)
=AVERAGE(MonthlyExpenses)
=IF(ActualSpend>PlannedBudget,”Over Budget”,”On Track”)
Named Ranges Across Multiple Sheets
As long as a name is set to workbook scope, you can use it in formulas on any sheet without needing to type the sheet name prefix. So if your summary sheet needs to total data named RegionalSales, your formula on the summary sheet is simply:
=SUM(RegionalSales)
No sheet references. No complicated syntax. Just the name. For a deeper understanding of how Excel addresses cells across sheets, check out the XplorExcel lesson on Cell References in Excel — it covers the mechanics of absolute, relative, and cross-sheet addressing in detail.
Real-World Example: Monthly Budget Formula
Here is a scenario most people can relate to. You track personal finances in Excel. Column B has your monthly income for each month of the year (B2:B13). Column C has your monthly expenses (C2:C13).
Steps: Build the Budget Formula
- Select B2:B13. Click the Name Box and type
MonthlyIncome. Press Enter. - Select C2:C13. Click the Name Box and type
MonthlyExpenses. Press Enter. - In a summary cell, type:
=MonthlyIncome-MonthlyExpensesand press Enter.
That single formula tells you your net position for the year. If you ever extend the data to cover more months, open the Name Manager, update the range references, and every formula that uses those names updates automatically. Before applying named ranges inside SUM and other functions, it helps to be comfortable with how SUM itself works. The XplorExcel lesson on the IF & Logical Functions in Excel shows how readable formulas become even more powerful when combined with logic.
Common Errors and How to Fix Them
Even people who have been using Excel for years trip over named range errors occasionally. Here are the two most common problems and exactly what to do.
Why You Are Seeing #NAME? and How to Fix It
The #NAME? error tells you Excel cannot figure out what something in your formula means. With named ranges in Excel, it almost always comes down to one of three things:
- 1. Misspelled name — Excel is spelling-sensitive. Open the Name Manager and compare the exact spelling to what you typed in the formula.
- 2. Deleted named range — The name was removed but the formula still references it. Recreate the name in the Name Manager and point it at the correct range.
- 3. Sheet-scope name used on the wrong sheet — Either change the scope to Workbook in the Name Manager, or prefix the sheet name in your formula.
Broken References After Deleting a Named Range
If you delete a name and errors suddenly appear across multiple cells, your first move is Ctrl + Z. Undo the deletion immediately before doing anything else.
If you cannot undo, find every formula referencing the deleted name and either retype the cell reference directly or create a new named range with the same label pointing to the correct data.
Frequently Asked Questions
How do I see all named ranges in my workbook?
Press Ctrl + F3 to open the Name Manager. Every named range is listed there with its reference, scope, and any comments. You can also click the dropdown arrow on the Name Box for a quick list, though the Name Manager gives you the full picture.
Can two ranges have the same name?
Yes, if they have different scopes. A workbook-level name and a sheet-level name can share the same label. Excel will prefer the sheet-level name on that sheet and fall back to the workbook-level name elsewhere. Trust me on this: for beginners, it is much simpler to keep all names unique across the whole workbook. One name, one meaning.
Do named ranges slow down Excel?
For everyday workbooks, no. Named ranges themselves do not cause performance problems. For normal use, named ranges in Excel have no meaningful impact on how fast your file runs.
🧪 Try It Yourself
Here is a short exercise to make everything stick. Open a blank Excel workbook and follow along.
- In cells A1 through A5, type: 100, 250, 175, 300, 225.
- Select A1:A5. Click the Name Box and type
WeeklySales. Press Enter. - Click an empty cell and type
=SUM(WeeklySales). Press Enter. - Click another empty cell and type
=AVERAGE(WeeklySales). Press Enter. - Press
Ctrl + F3to open the Name Manager. Confirm WeeklySales appears. - In the Name Manager, update the Refers to field to A1:A6. Click the checkmark and close.
- Type 400 in cell A6. Watch your SUM update automatically.
If your SUM showed 1050 before and now shows 1450 — you have successfully created, used, and edited a named range. That is the full cycle.
📚 Further Reading
The official Microsoft reference for naming rules, scope behaviour, and advanced options.
One of the most practical quick-reference guides on named ranges available online, with clear formula examples.
← Previous Lesson
Cell References in ExcelNext Lesson →
IF & Logical Functions in Excel